Crack sealing is a proven method to extend pavement life and reduce maintenance costs. By sealing cracks early, you protect the sub-base from water damage, reduce the need for extensive repairs, and maintain smooth, safe driveway and highway surfaces. Untreated cracks often worsen over time due to moisture infiltration and structural stress, leading to costly damage like potholes.
For municipalities, contractors, and facility managers, understanding the essentials of crack sealing is key to optimizing any maintenance strategy and safeguarding a pavement investment. This guide outlines practical best practices—from crack assessment and material selection to application techniques and safety measures—to help you achieve durable, reliable results.
Why Crack Sealing is Essential
Neglecting pavement cracks can lead to a cascade of problems, turning minor issues into major expenses. When left untreated, cracks allow water to penetrate the pavement’s sub-base, which is the foundation of your pavement. This triggers a cycle of damage:
- Foundation Erosion: Water weakens and erodes the sub-base, compromising the pavement’s structural support.
- Freeze-Thaw Cycles: In colder climates, the trapped water freezes and expands, forcing the crack to widen and breaking apart the surrounding pavement.
- Accelerated Deterioration: This ongoing damage leads to more severe issues, such as potholes and alligator cracking, which require far more extensive and costly repairs.
- Safety Hazards: Large cracks and potholes create tripping hazards for pedestrians and can cause significant damage to vehicles.
In short, crack sealing is not just a cosmetic fix—it’s an essential preventative measure that stops pavement degradation in its tracks, saving you significant time and money in the long run.
Understanding Crack Types and Their Suitability for Sealing
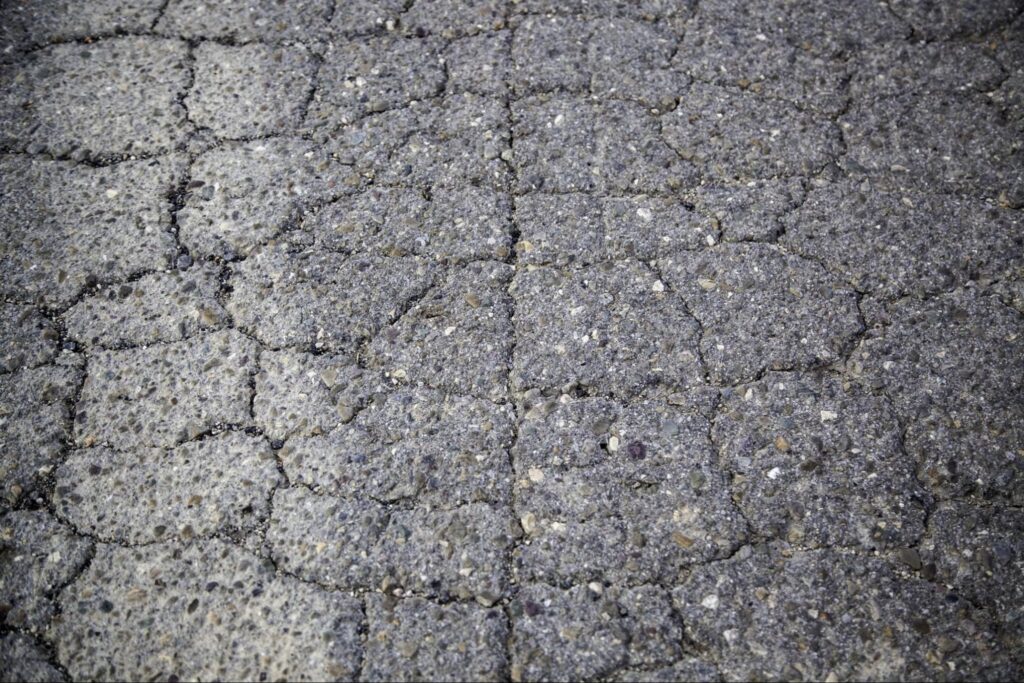
Not every crack is a candidate for sealing. Identifying the right types of cracks is essential for selecting the appropriate repair method.
Cracks Ideal for Sealing
- Longitudinal Cracks: Run parallel to the road’s centerline and typically occur due to aging or repeated stress.
- Transverse Cracks: Occur perpendicular to traffic flow and are often caused by temperature changes and material fatigue.
- Reflective Cracks: Develop over joints or in areas with previous overlays, requiring sealing to prevent water intrusion.
- Thermal Cracks: Generally found in colder climates, these result from repetitive expansion and contraction of the asphalt.
Cracks that are narrower than 1.5 inches can usually be effectively sealed, providing a secure barrier against moisture and debris.
Cracks That Require Alternative Repairs
- Potholes and Alligator Cracks: Indicate significant structural damage that sealants alone cannot address.
- Severe Spalling or Extensive Deterioration: When the pavement is crumbling or compromised, more extensive repairs are necessary.
Before sealing, evaluate the pavement’s overall condition, ensuring that isolated cracks with minimal sub-base failure receive treatment while distributed or severe damage is directed to other repair methods.
Crack Sealing Materials: Hot-Pour vs. Cold-Pour
The performance of a crack sealing project depends largely on the choice of sealant. Materials are broadly categorized into hot-pour and cold-pour sealants, each with specific advantages.
Hot-pour Sealants
Hot-pour sealants must be heated to proper application temperatures (typically 380°F to 410°F). When applied, they provide flexibility and durability under thermal movement. They are ideal for regions with significant temperature fluctuations. Adhering closely to manufacturer specifications for temperature and agitation is critical for achieving optimal performance. For more detailed product insights, refer to hot-pour sealants.
Cold-pour Sealants
These sealants come ready-to-use, offering convenience for smaller or time-sensitive repairs. While easier to apply, they are generally less robust under high-traffic or extreme weather conditions compared to hot-pour alternatives. Explore available options such as cold-pour sealants.
Key Considerations
When selecting a sealant, consider:
- Climate: Hot-pour is preferred in areas with large temperature variations.
- Traffic Volume: High-traffic roads require a durable, resilient sealant.
- Pavement Age and Type: Match the sealant to the pavement’s condition and design.
- Crack Dimensions: Ensure the chosen product suits the size and movement potential of the crack.
Always use materials that meet industry standards (such as ASTM) and store them according to the manufacturer’s guidelines to maintain quality.
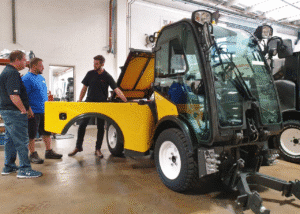
Equipment Requirements for Crack Sealing Success
Effective crack sealing relies on the proper equipment. Investing in quality tools not only speeds up the job but also ensures consistent application.
Essential Equipment
- Melters: These heat the sealant to the required temperature. They come in two varieties:
- Direct-Fired Melters: Offer a cost-effective solution but require careful temperature control.
- Indirect-Fired Melters: Provide more uniform heating and reduce the risk of overheating.
- Applicators: Integrated with melters, they help dispense sealant precisely into the crack.
Equipment Maintenance
Regular cleaning of applicators and checking the temperature calibration of melters is essential. Simple maintenance tasks—such as cleaning burner components and ensuring clear fuel lines—help guarantee that equipment performs reliably over time.
When is the Best Time to Seal Cracks?
Timing your crack sealing project is just as critical as the application itself. Applying sealant in the right conditions ensures a stronger bond, better performance, and a longer-lasting repair. For the best results, pay close attention to the weather and time of year.
Ideal Temperature
Aim for moderate temperatures. Most hot-pour and cold-pour sealants perform best when the ambient temperature is above 40°F (4°C). Sealing on a mild, sunny day is ideal, as the pavement surface will be warm and dry, allowing for maximum adhesion. Avoid sealing in extreme heat, which can affect curing times, or in freezing temperatures, which can prevent the sealant from bonding correctly.
Dry Conditions are a Must
The pavement must be completely dry. Sealant cannot adhere to damp or wet surfaces, as the moisture creates a barrier that leads to premature failure. Always check the weather forecast to ensure there is no rain expected for at least 24 hours after application. Be mindful of morning dew or overnight frost, which can leave hidden moisture deep within the cracks.
The Best Seasons for the Job
- Spring and Fall: These seasons are widely considered the optimal time for crack sealing. They typically offer the perfect balance of moderate temperatures and dry conditions. Furthermore, the cracks are at a “neutral” width—not fully expanded from summer heat or contracted from winter cold—which allows the sealant to perform effectively through all seasons.
- Summer: Summer can also be a good time for sealing, but it’s best to work during the cooler morning hours. This helps avoid the intense midday sun, which can heat the pavement excessively and impact the sealant’s curing process.
By planning your crack sealing projects during these optimal windows, you set the stage for a successful, durable repair that will stand the test of time.

The Crack Sealing Process: A Step-by-Step Guide
Achieving a long-lasting seal depends on a systematic approach. Follow these steps to ensure proper application and optimal results.
Step 1: Prepare the Work Area and Ensure Safety
Before you begin, establish a safe work zone. Set up traffic cones, signs, or temporary barriers to direct traffic away from the area. All workers must be equipped with the appropriate Personal Protective Equipment (PPE), including heat-resistant gloves, safety glasses, and high-visibility clothing.
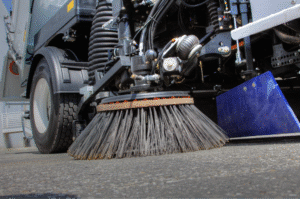
Step 2: Clean and Dry the Cracks
Proper adhesion starts with a clean surface. Remove all dirt, debris, and vegetation from the cracks using a wire brush or compressed air. Once the cracks are clean, ensure they are completely dry. For damp areas, a heated air lance can be used to eliminate moisture, but be careful not to overheat and damage the surrounding pavement.
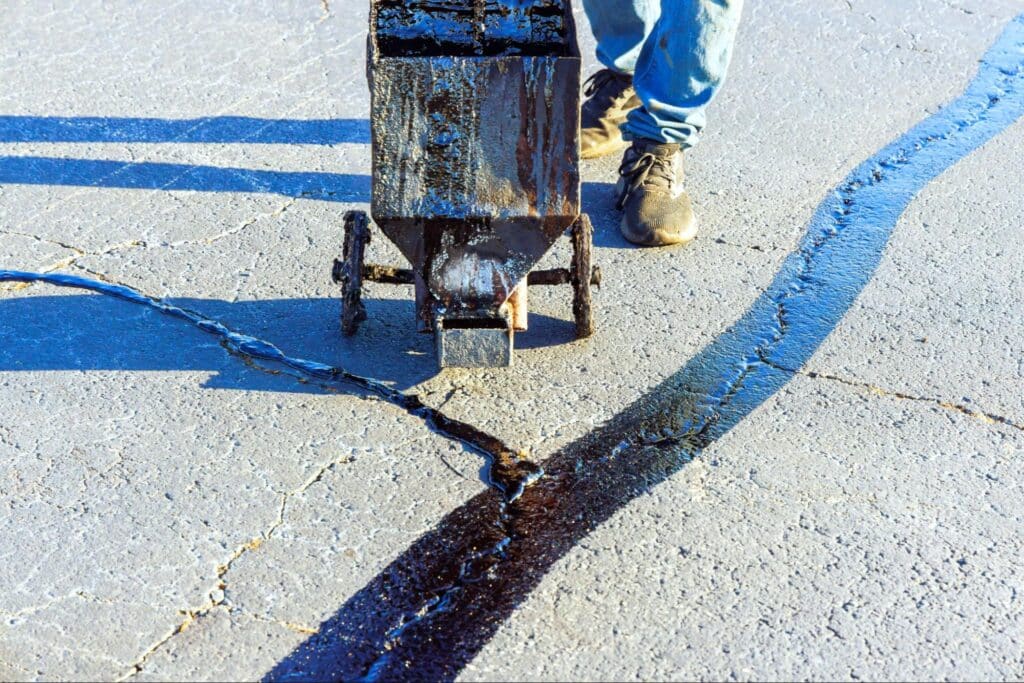
Step 3: Apply the Sealant
With the cracks prepped, you can begin applying the sealant.
- Fill from the Bottom Up: To prevent air pockets, apply the sealant from the bottom of the crack upwards.
- Avoid Over or Under-filling: Apply just enough material to fill the crack. An overfilled crack can create an uneven surface and lead to tracking, while an under-filled one won’t provide adequate protection. Use an applicator wand for a precise, uniform distribution.
- Choose the Right Configuration: Depending on the crack, you may use a flush fill (level with the pavement), an overband (a thin layer extending over the edges), or a combination of both to ensure a complete seal.
Step 4: Allow for Proper Curing
The final step is to let the sealant cure. Curing times vary based on the material and weather conditions, so always follow the manufacturer’s recommendations. For hot-pour sealants, you can apply a de-tacking agent or a light dusting of sand to reduce stickiness and allow traffic to resume more quickly.
Safety Considerations
Ensuring safety during crack sealing operations is crucial for both workers and the traveling public.
Worker and Public Safety
- Personal Protective Equipment (PPE): Ensure all workers wear appropriate gear, including heat-resistant gloves and high-visibility clothing.
- Traffic Control: Set up clear signage, cones, and barriers to delineate a safe work area. In busy or high-speed traffic zones, consider using flaggers or temporary lane closures.
- Operational Communication: Maintain constant communication among team members to quickly address emerging hazards during the operation.
Basic Safety Protocols
Following basic safety protocols not only protects personnel but also minimizes delays caused by accidents or work stoppages. Regular briefings on equipment handling, safe practices, and emergency procedures are recommended before and during each project.
After the Seal: Maintenance and Troubleshooting
Long-term success with crack sealing requires routine inspection and timely maintenance to address any issues before they escalate.
Routine Inspections
- Check Sealant Performance: Look for areas where the sealant may have sagged, pulled away, or cracked. Early identification enables timely reapplication.
- Recordkeeping: Document the locations treated and note any issues over time. Keeping a log helps determine if additional or alternative maintenance strategies are needed.
Addressing Common Issues
- Sealant Sagging: If the material sinks into cracks, apply a top-up layer to restore uniformity.
- Edge Separation: Areas where the sealant detaches from the crack edges may need reapplication or additional surface preparation.
- Recurrent Cracking: Frequent reoccurrence of cracks may indicate underlying structural issues that require a broader repair approach, such as patching or overlay.
Monitoring and addressing these issues promptly can enhance overall pavement performance and extend the lifespan of your crack sealing projects.
Integrating Crack Sealing Into Pavement Maintenance

Crack sealing should be part of a comprehensive pavement maintenance program. It not only addresses immediate distress but also prepares the pavement for additional surface treatments.
Complementary Treatments
Crack sealing is often paired with:
- Chip Seals or Slurry Seals: Sealing cracks first prevents water from undermining subsequent overlays.
- Regular Inspections: Monitor pavement conditions to address new cracks as soon as they appear, thereby reducing long-term maintenance costs.
Timely integration of crack sealing with other preservation treatments protects the structural integrity of the pavement and extends its service life.
Maximize Pavement Longevity with Effective Crack Sealing Strategies
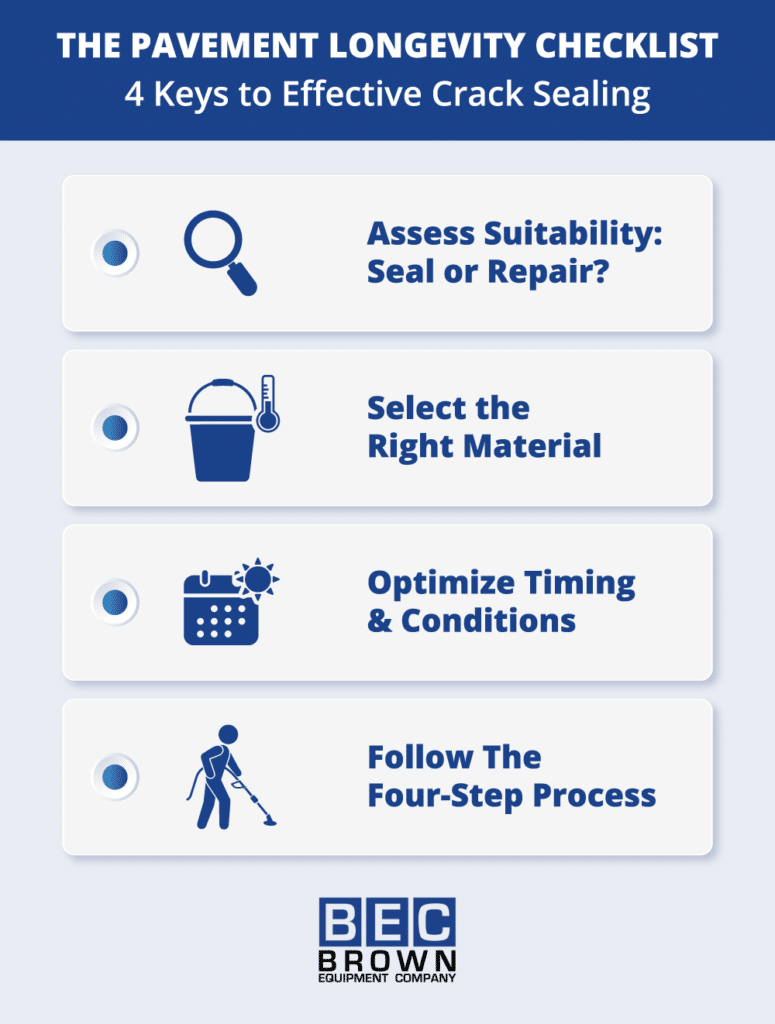
Crack sealing is a cost-effective and efficient pavement preservation method that protects your paving investment and ensures safer roadways. By carefully assessing crack suitability, selecting the right materials, using proper equipment, and following proven techniques, you can significantly extend pavement life and reduce long-term repair costs.
Contact Brown Equipment Company today to discover how our specialized equipment and expert services can help you achieve lasting pavement performance. We offer expert consultations, equipment demonstrations, and tailored maintenance solutions to meet your specific needs.
Watch the video below to learn about our commitment to quality and customer satisfaction, and see firsthand why Brown Equipment Company is the trusted partner for professionals across industries.